In this post, we will focus on removing records from a database. This operation is carried out with the SQL DELETE statement. Before reading this tutorial be sure to check out our posts on SQL UPDATE Statement and SQL INSERT Statement.
Executing an SQL DELETE statement
Following what we said in the previous post regarding COMMIT and ROLLBACK, and knowing that in this post we are about to delete items, we will start by executing a COMMIT. Thus, we will store the current state of our database. If necessary, we will be able to revert to it later using ROLLBACK.
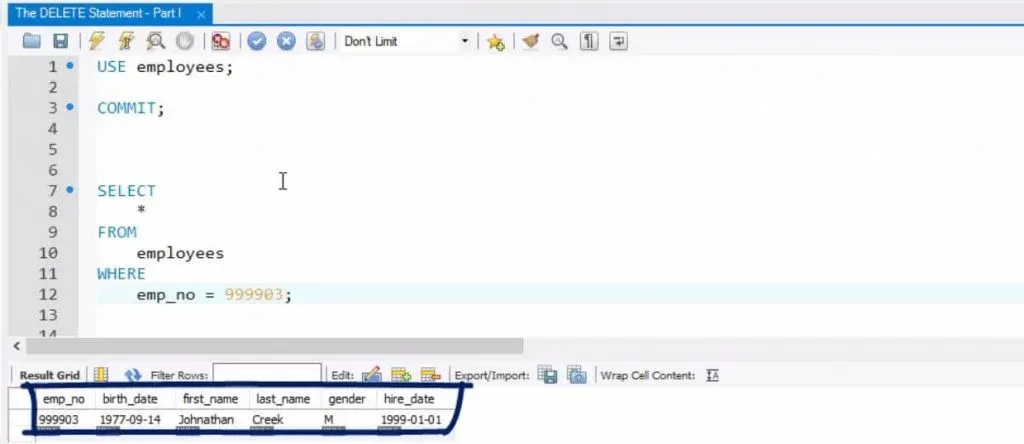
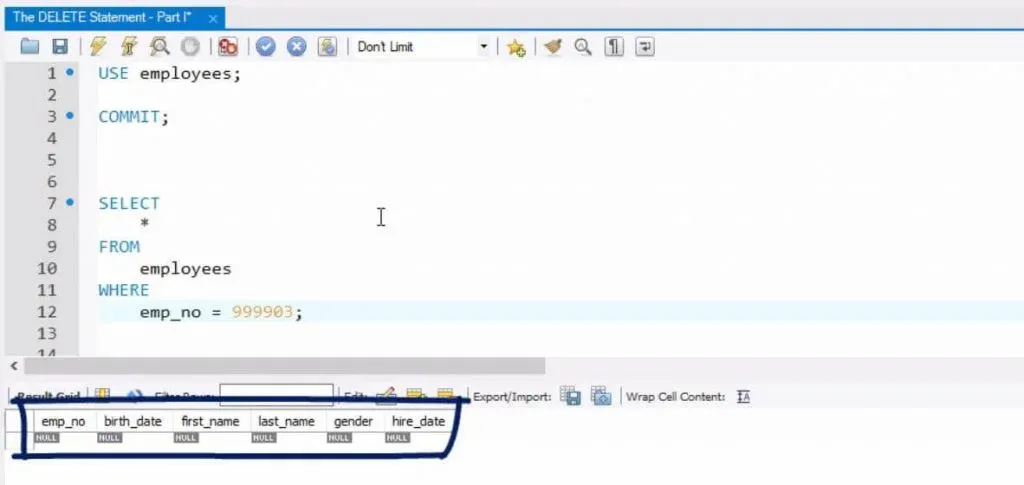
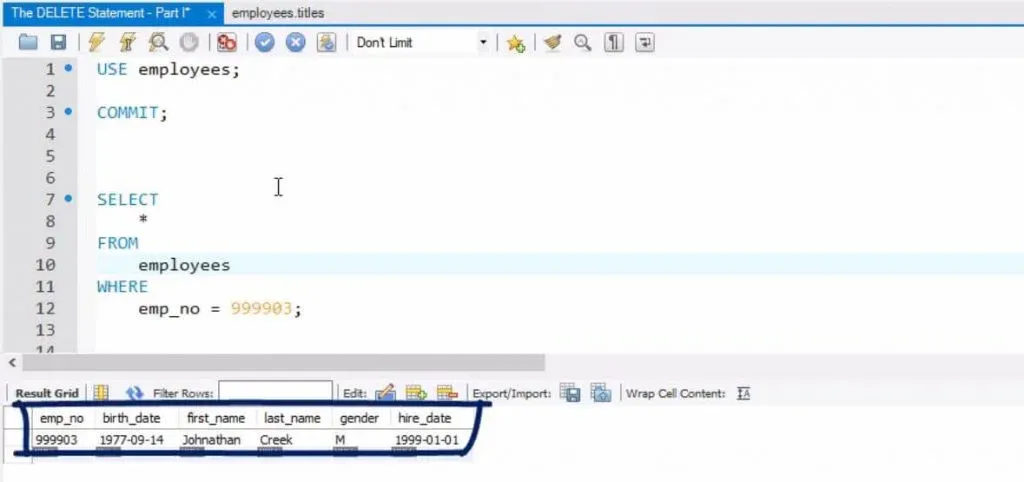
In the post about INSERT, under employee number 9-9-9-9-0-3 we added some information about Jonathan Creek. Let’s select his record in the “Employees” table.
Fine – we can see his ‘birthdate’, ‘gender’ and ‘hire date’.
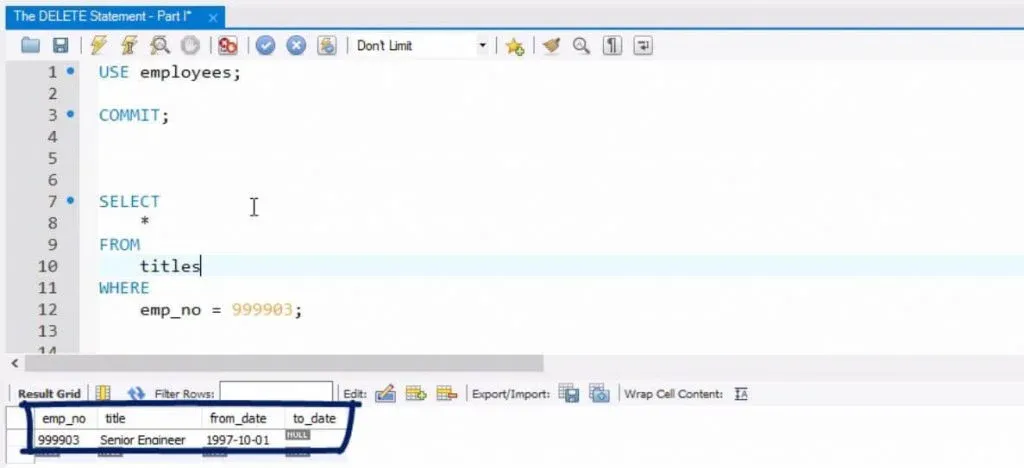
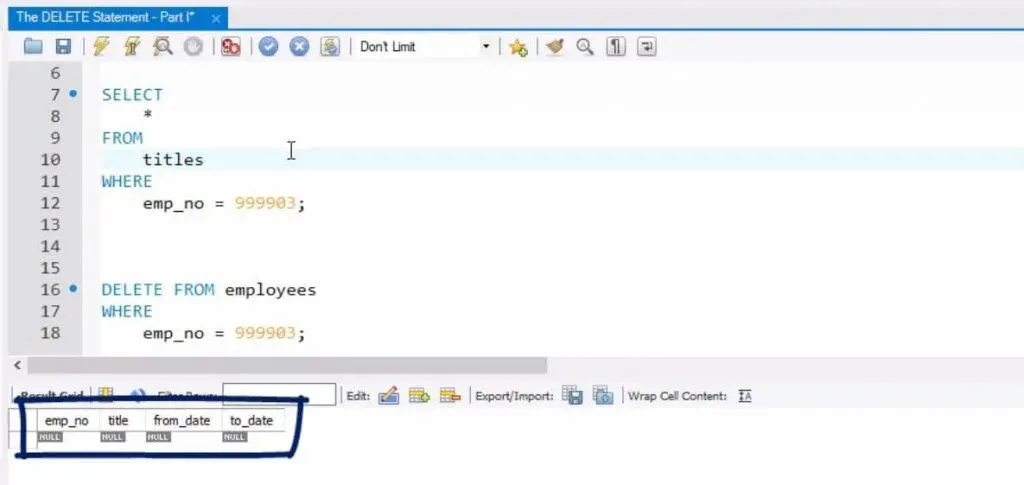
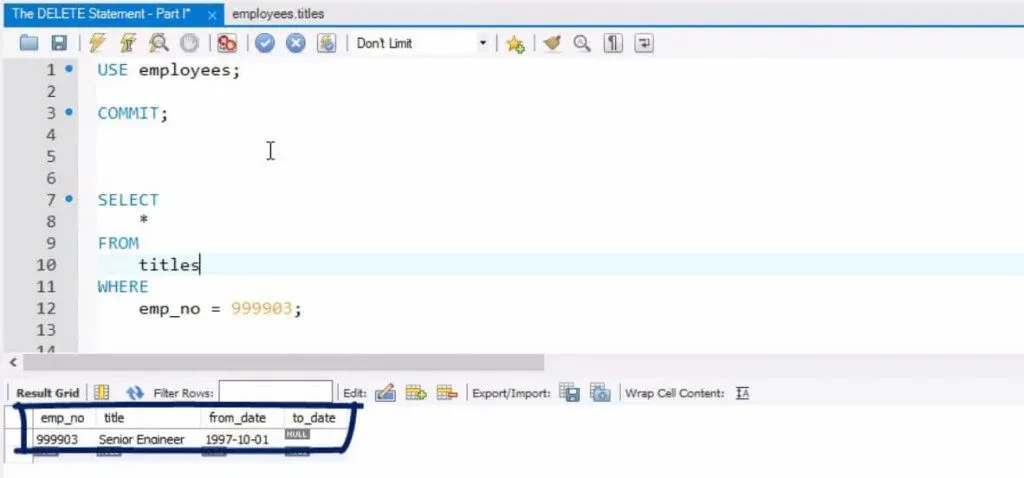
Now, let’s see what information is contained about the same employee in the “Titles” table.
Excellent! His job position is 'senior engineer', and he started working on the 1st of October 1997. The lack of information in the “to_date” column suggests that he is still working at the company. Good!
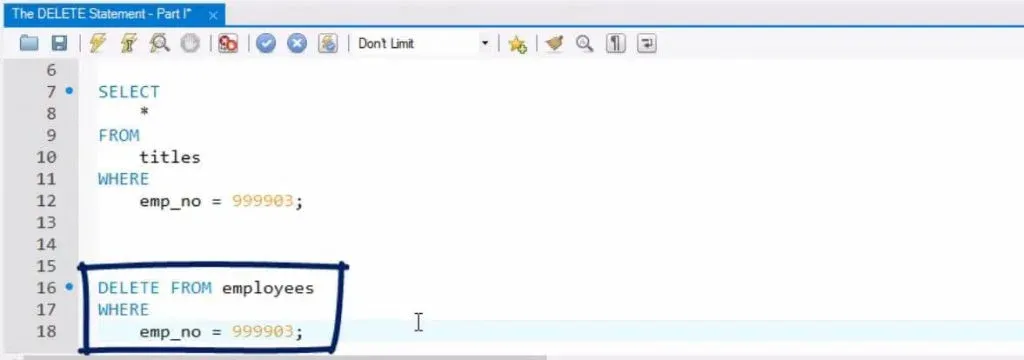
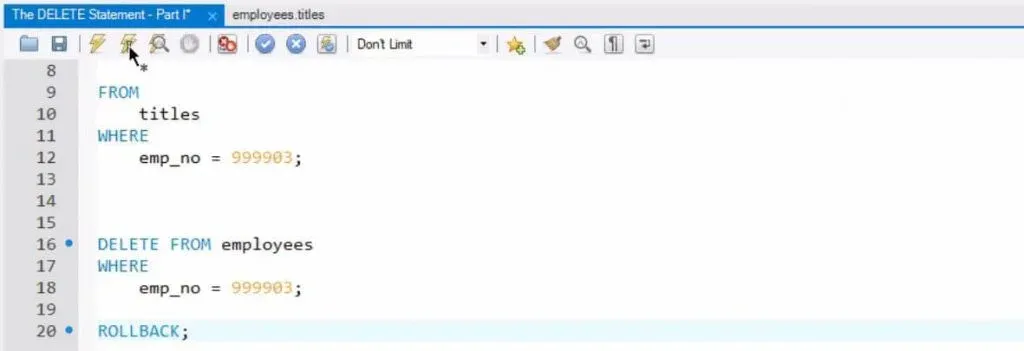
As we mentioned at the beginning of the tutorial, the syntax to abide by when deleting information is DELETE FROM, table name, and WHERE with a corresponding condition.
In our case, the code would be DELETE FROM “Employees”, WHERE “Employee number” is 9-9-9-9-0-3.
What should happen when we run this query is that only the row with employee number 9-9-9-9-0-3 will be removed.
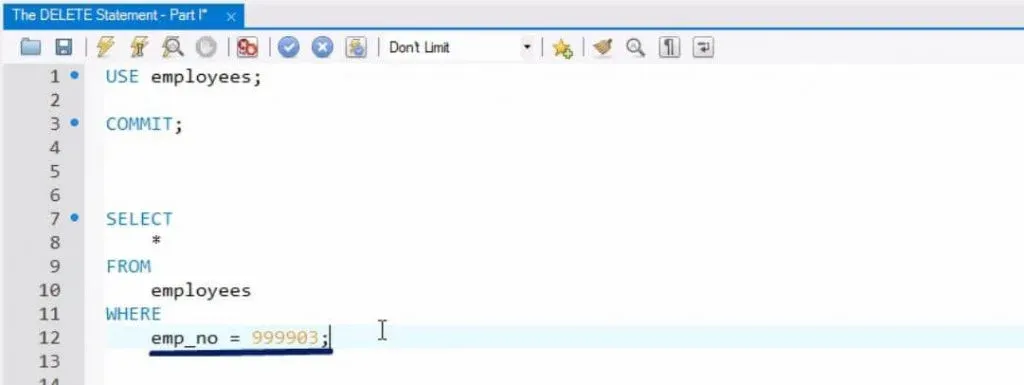
Let’s see if this is true after executing this DELETE statement, then selecting the record from the “Employees” table, providing the same condition in the WHERE clause.
So … what output will show up?
An empty record. This means we have properly deleted the information about Jonathan Creek. Awesome! What do you think … can we still see he was a senior engineer hired in October 1997? We’ll have to check what’s left in the “Titles” table.
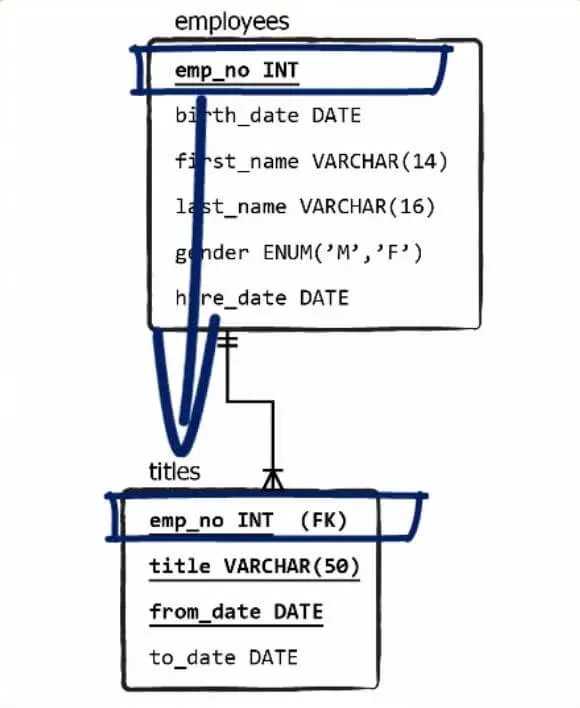
Hmm … empty as well. Why? Didn’t we order a DELETE command for only the “Employees” table? The answer lies in the connection between the two tables.
Then we check the DDL information about the “Titles” table.
We see in the foreign key constraint that we also have an ON DELETE CASCADE clause.
Using this clause means all related records in the child table will be deleted as well. Fantastic!
For the sake of exercise, assume we deleted Jonathan’s information by mistake. Is there a way we can go back? Considering that we applied a COMMIT statement at the beginning of the post, then, yes, there is. We should be able to run a ROLLBACK command.
Let’s execute it … ok!
And now let’s verify that the record has been put back in the table. It’s in the “Employees” table … ok…
And … we have it in “Titles”, too.
So, our last COMMIT did a good job preserving the full dataset – the initial large data set along with the three records we added in the INSERT section.
Keep up the pace for the next section, in which we’ll show you something with which you must be very careful.
Unsafe Delete Operation
If we do not set a condition in the WHERE clause of a DELETE statement, we are taking a big risk. This could potentially lead to the removal of all the table’s records. That’s why we must be very careful when using this statement. Always!
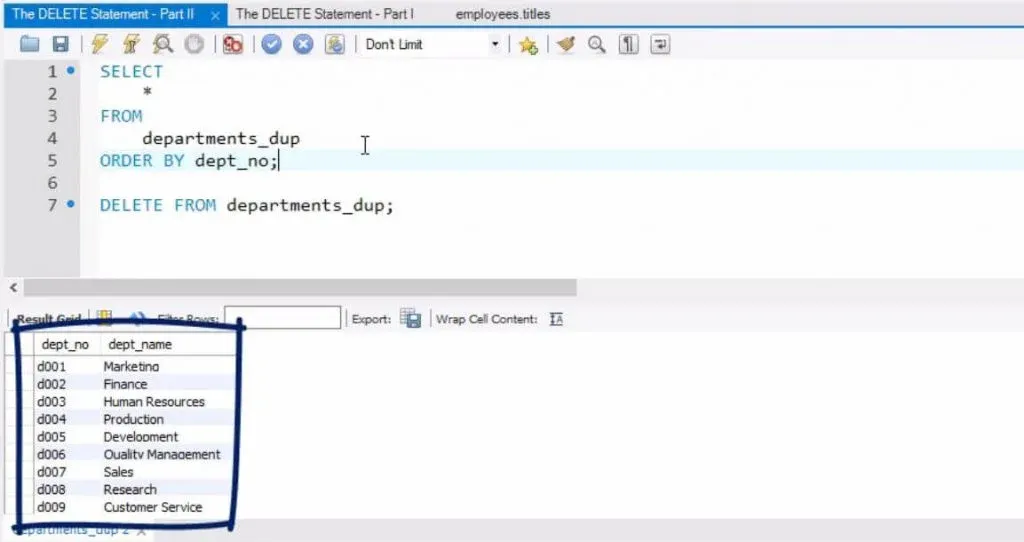
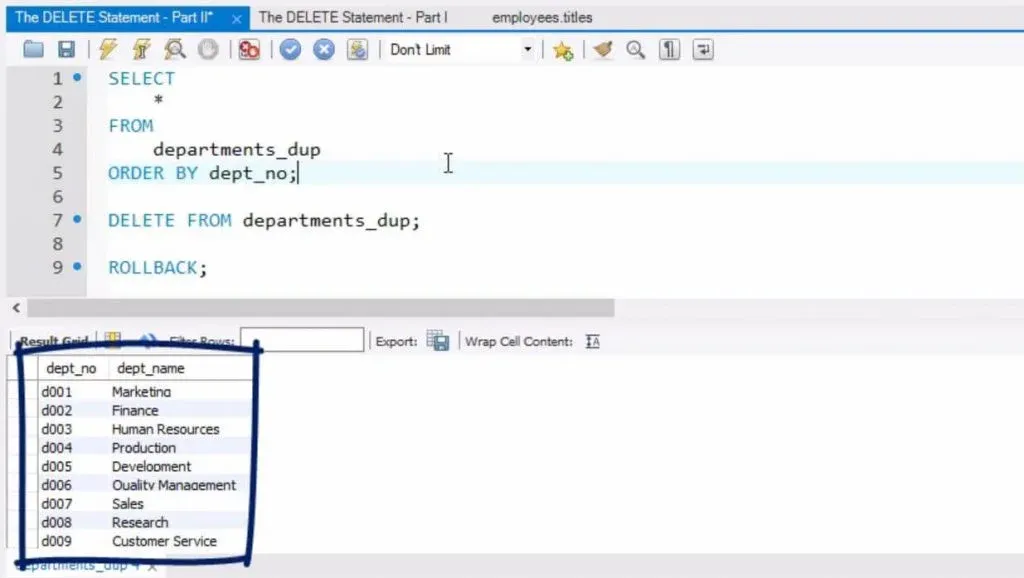
Let’s recall what we have in the “Departments Duplicate” table.
The numbers and names of nine departments in the company.
Let’s execute a DELETE statement without a WHERE clause attached to it.
You see? Nine rows were affected.
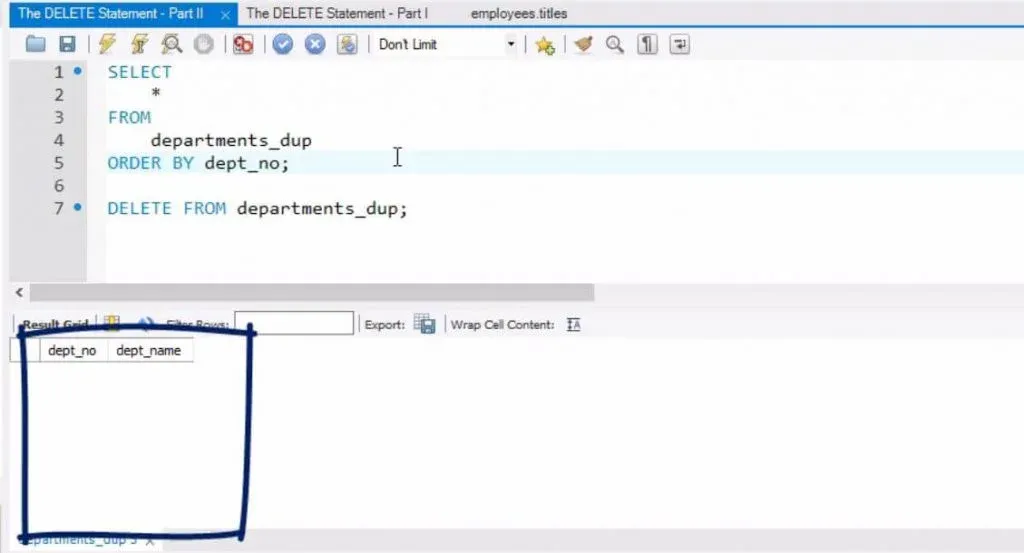
Now we can check the table once more.
It couldn’t be emptier than that!
To undo the changes, we should be able to execute a ROLLBACK statement. Ok?
And … did it work? We’ll have to select all the information from this tiny table to verify whether we have our data back.
Here it is! Waiting to be retrieved!
Therefore, in conclusion, we can say the following: Be careful with the DELETE statement. Don’t forget to attach a condition in the WHERE clause unless you want to lose all your information.
In the next section, we will compare DROP, DELETE, and TRUNCATE.
DROP vs TRUNCATE vs DELETE
In this section, we will briefly discuss the main difference between three reserved words: DROP, TRUNCATE, and DELETE.
Their functionality is similar, and you might wonder why all of them – and not just one – exist.
DROP
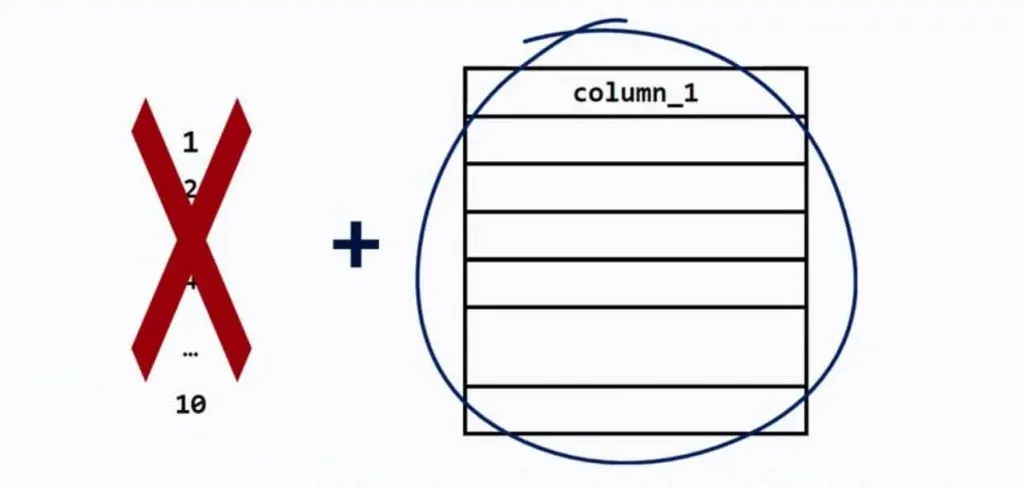
Look at this hypothetical table with 10 records.
If you DROP it, you will lose the records, the table as a structure, and all related objects, like indexes and constraints. You will lose everything! Furthermore, you won’t be able to roll back to its initial state, or to the last COMMIT statement. Once you drop a table, it’s gone. Only additional data recovery software will help in such a situation, but it is not considered a standard SQL tool.
Hence, use DROP TABLE only when you are sure you aren’t going to use the table in question anymore.
TRUNCATE
TRUNCATE is a statement that will essentially remove all records from the table, just as if you had used DELETE without a WHERE clause. This means TRUNCATE will remove all records in your table, but its structure will remain intact.
Please bear in mind that when truncating, auto-increment values will be reset. So, if your table has 10 records and then you truncate it, when you start re-filling this data object with information, the next records that will be inserted are not going to be 11 and 12. The first record will be number 1, the second record will be number 2, and so on. Nice!
DELETE
Finally, DELETE removes records row by row. Only the rows corresponding to a certain condition, or conditions, specified in the WHERE clause will be deleted. 
If the WHERE block is omitted, the output will resemble the one obtained with TRUNCATE. There will be a couple of significant distinctions, though.
First, the SQL optimizer will implement different programmatic approaches when we are using TRUNCATE or DELETE. As a result, TRUNCATE delivers the output much quicker than DELETE because it does not need to remove information row by row.
Second, auto-increment values are not reset with DELETE. So, if you DELETE all 10 records in this table and then start inserting new data, the first new record will be numbered 11, and not 1; the second will be 12, and not 2, and so on.
There are many other technical peculiarities regarding these three options but their detailed explanation is beyond the scope of this post. Nevertheless, we hope this post will help you make a more educated choice among DROP, TRUNCATE, and DELETE.
To learn more about SQL statements, check out our tutorials How to Use the Limit Statement in SQL and When to Use the SQL CASE Statement.
You can continue to the next tutorial to understand how to manipulate data and use operators in SQL.
***
Eager to hone your SQL skills? Take our SQL course.
Ready to take the first step towards a career in data science? Check out the complete Data Science Program today. We also offer a free preview version of the Data Science Program. You’ll receive 12 hours of beginner to advanced content for free. It’s a great way to see if the program is right for you.
Next Tutorial: Working with Operators in SQL


