In today’s tech-driven world, it’s imperative to know how to handle data. Those already familiar with SQL know of the significant role it plays in a data scientist’s career. For the uninitiated data enthusiasts, however, it’s a good idea to get acquainted with this powerful programming language that allows you to customize databases on a large scale.
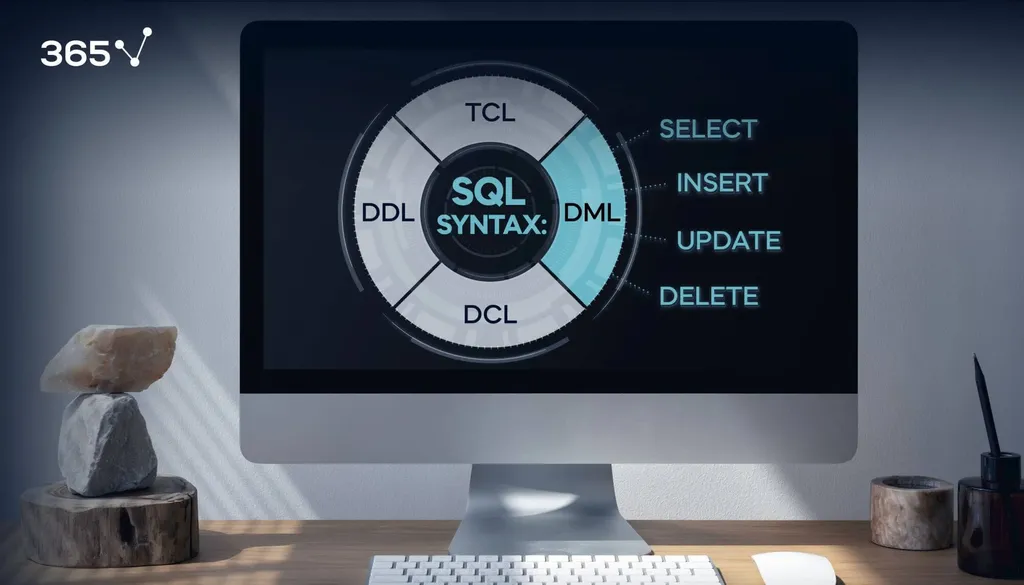
One of the main advantages of SQL’s syntax is its straightforward nature. There are several components that will allow you to create a database with DDL, manipulate information with DML, as well as control who has access with DCL and manage transactions within a database with TCL.
In this article, our focus will be on DML, showing you how to manipulate data in SQL by providing specific examples.
What is DML?
After you’ve already set up your database – or loaded one that you’d like to work with – it’s time to implement DML, abbreviated from data manipulation language. Through a set of operations, this SQL syntax allows you to manipulate existing data objects.
What Are the DML Commands in SQL?
As all SQL syntax components, DML features several commands – or statements – that we use as we work our way through data tables:
- SELECT
- INSERT
- UPDATE
- DELETE
The commands, themselves, hold several keywords or subqueries that further specify the action we want to implement onto the database.
SELECT Statement
Beginning with SELECT – a statement used to retrieve data from database objects, like tables:
SELECT * FROM sales;The star after the command will deliver the entire content of “sales”, meaning all records and fields contained in the proposed table.
You can use the same structure to extract specific records from the table:
SELECT… FROM sales…;This function is useful for when you’re faced with a table with a tremendous number of rows of data, for example. Only a small part of it would appear on the screen, right? In such cases, it can be helpful if you could call only a portion of the table that satisfies the given criteria. This is crucial and makes the SELECT command one of the most powerful tools available in SQL. Therefore, you should know how to use it well to designate the precise area of the table you would like to extract information from with ease.
INSERT Statement
INSERT is used to insert data into tables. It enables you to add more records or rows while you are working with the table. This clause goes hand in hand with the keywords INTO and VALUES. For example:
INSERT INTO sales (purchase_number, date_of_purchase) VALUES
(1, ‘2017-10-11’);
After the table’s name, you will have to specify the columns you are adding information to in the paretheses – unless you actually want to insert data in all columns.
For the moment, our “sales” table contains only 2 fields:
| purchase_number | date_of_purchase |
| 1 | 2017-10-11 |
If we want to add purchase number and date values, we could omit the part with column names and parentheses, thus our statement would look like this:
INSERT INTO sales VALUES
(1, ‘2017-10-11’);
The two versions are identical. Syntactically, such statement makes sense, because it allows you to insert values right into a table. The second line of code allows you to register the first record of the dataset. It will appear as the first row of the “sales” table.
That being said, if you’re interested in learning more about coding style, read our article on best SQL practices.
Meanwhile, the following code will add another record – purchase number 2, with the date October 27, 2017:
INSERT INTO sales (purchase_number, date_of_purchase) VALUES
(2, ‘2017-10-27’);
Thus, the table will look like this:
| purchase_number | date_of_purchase |
| 1 | 2017-10-11 |
| 2 | 2017-10-27 |
UPDATE Statement
While we can select and insert information in SQL, we can also update it. The DML UPDATE command allows you to renew existing data in your tables. Its syntax is slightly different and is best understood with an example.
The following piece of code will allow us to substitute the previously inserted date of purchase number 1 – October 11, 2017 – with a different one. In our example, that would be December 12, 2017:
UPDATE sales
SET date_of_purchase = ‘2017-12-12’
WHERE purchase_number = 1;
The update is based on the number of the purchase - 1. This way, the entire row is modified, making the new date appear in the table:
| purchase_number | date_of_purchase |
| 1 | 2017-12-12 |
| 2 | 2017-10-27 |
DELETE Statement
The DELETE command functions similarly to DDL’s TRUNCATE – but with one substantial difference. While TRUNCATE allows us to remove all the records contained in a table, you can specify precisely what you would like to be removed with DELETE.
For instance, the following line of code will remove all the records from the “sales” table:
DELETE FROM sales;It is equivalent to using the TRUNCATE command:
TRUNCAТE TABLE sales;WHERE Clause
If we take advantage of the optional WHERE clause, instead, the following statement will delete the record with purchase number 1, leaving the second row intact:
DELETE FROM sales
WHERE
purchase_number = 1;
Our table will remain only with the second record:
| purchase_number | date_of_purchase |
| 2 | 2017-10-27 |
DML: Next Steps
In terms of complexity, DML commands are slightly more advanced than DDL, however, they also allow a wider range of modifications – especially when you’re working with large databases.
If you’re here, then you’re probably already interested in working with data, so DML will certainly be a valuable skill set to master. Additionally, SQL is a popular programming language that will boost your resume as you embark on your data science career path.


